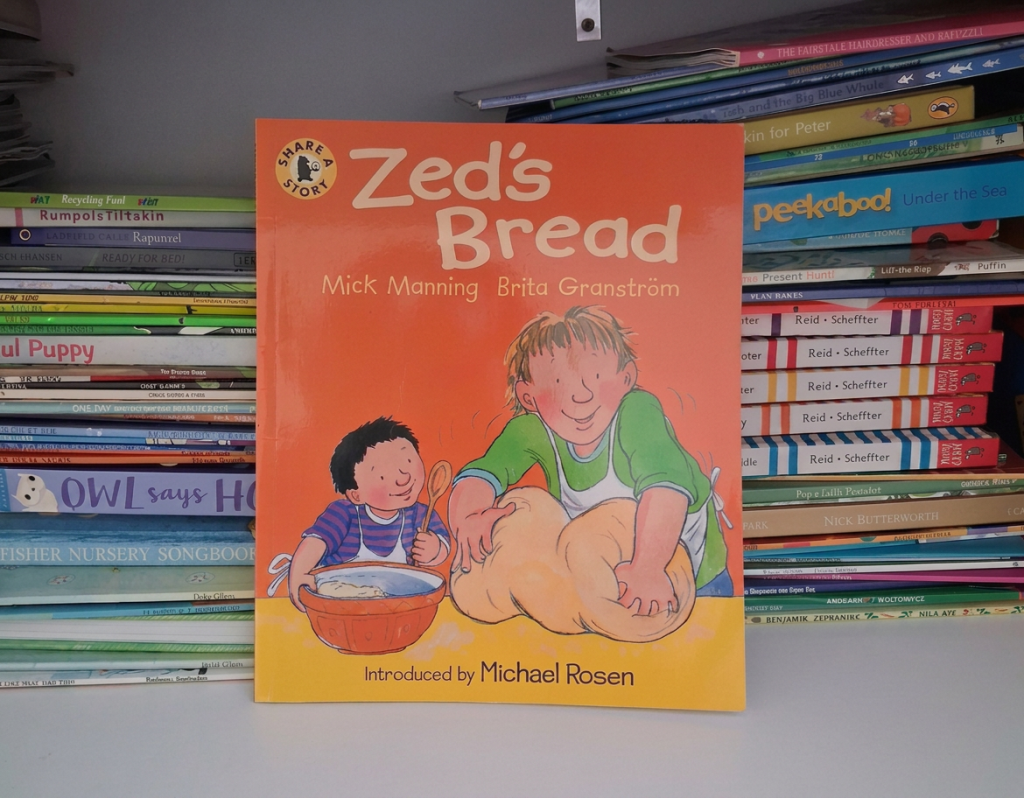
Some picture books offer much more than a lovely story. Zed’s Bread by Mick Manning and Brita Granström is one of those books. It provides a natural starting point for exploring how bread is made, where ingredients come from, breads from different cultures, weighing and measuring, scientific change, instructions and recipes.
With children aged approximately three to six, this single book could inspire anything from one engaging lesson to a rich week or fortnight of connected learning.
Why this book works
Zed’s Bread uses the familiar setting of a home kitchen and centres on activities that young children can easily relate to through their own experience. The repeated language patterns include several Reception tricky words, while the short sentence structures give the story pace and make it accessible for early readers.
At the end of the book, several pages introduce breads from around the world, providing a simple springboard into wider learning far beyond the story itself. The book lends itself naturally to practical, cross-curricular exploration, from baking and measuring to science, geography, history and instructional writing.
Talk about the story
The story features Zed and his brother as, together they go through the step by step process to make bread rolls, culminating in them making (and eating!) jam sandwiches.
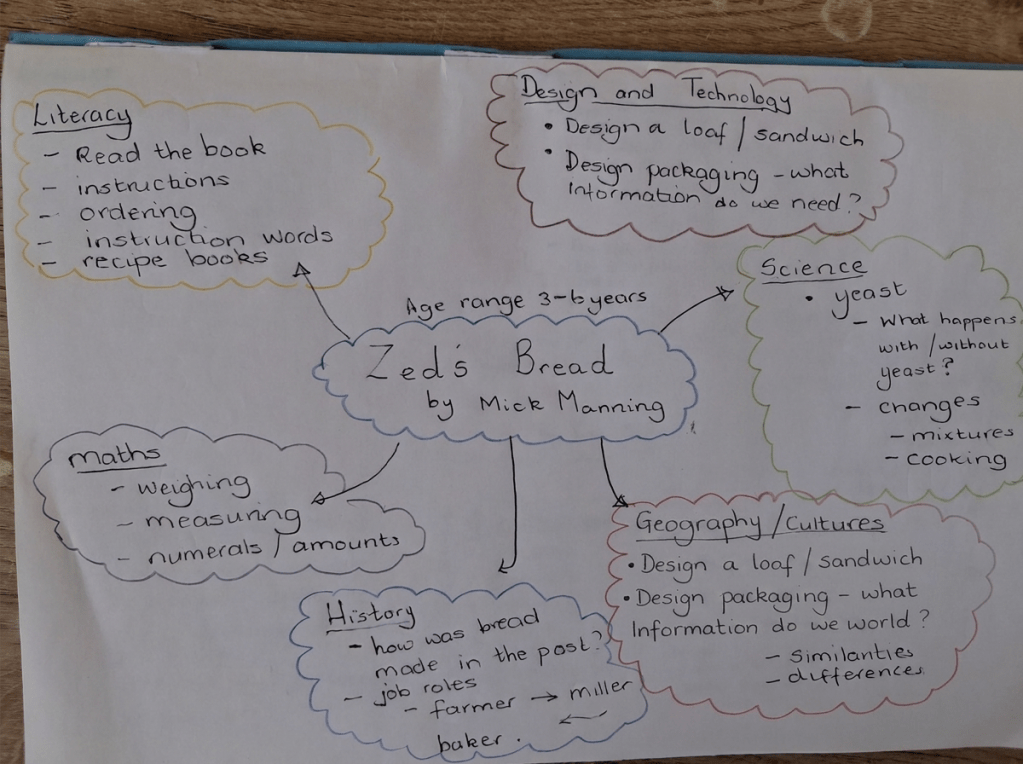
Planning Web
Literacy ideas
- Read the book together. Look for CVC words, listen for repeated refrains, and encourage the children to join in.
- Sequence the story using pictures or short captions, then use the sequence to create a simple recipe.
- Identify instructional language. Explore the -ing ending for actions happening now and the -ed ending for actions that have already happened.
- Explore a range of recipes. What features do they share, such as command verbs, numbered steps and lists of ingredients?
Maths ideas
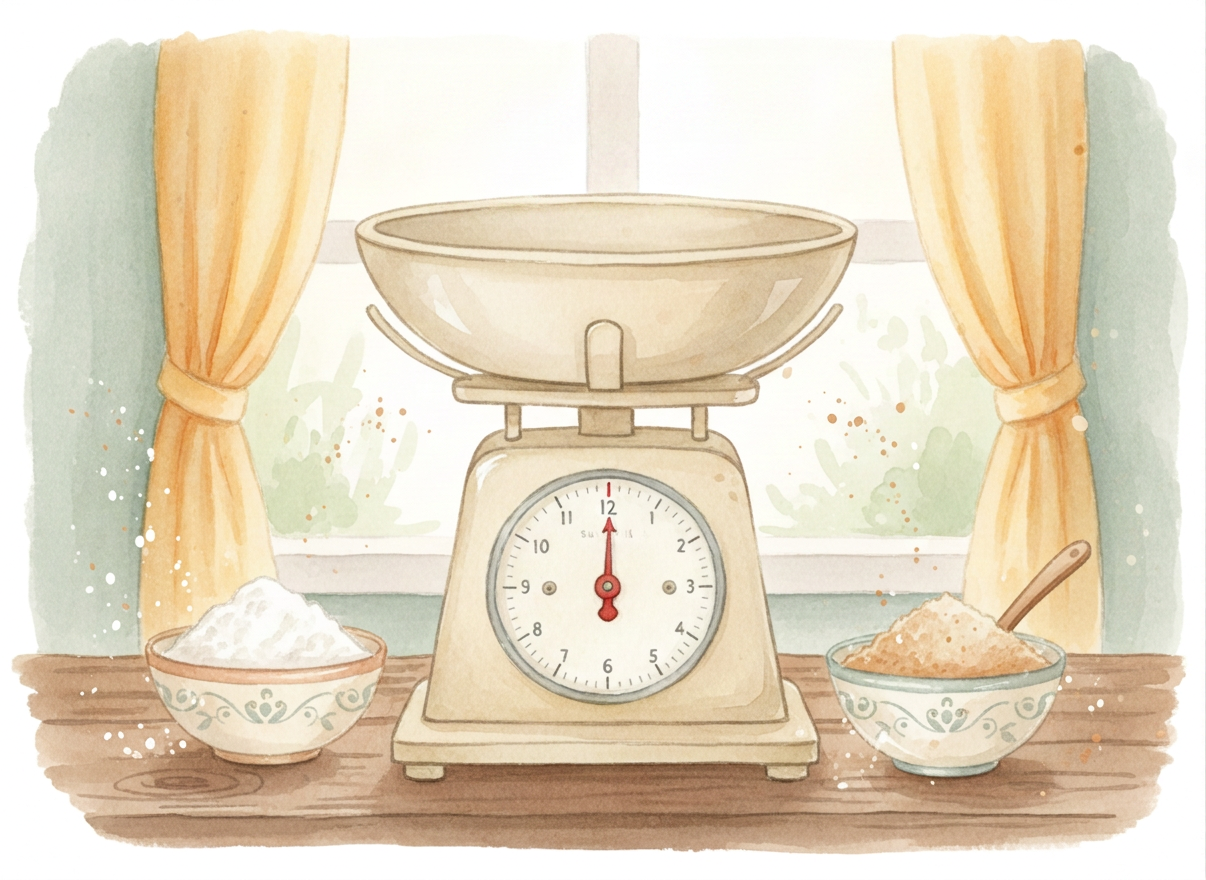
- Weigh the ingredients and compare their weights using language such as heavier, lighter, more and less.
- Measure liquids carefully and talk about full, empty, half-full and nearly full.
- Read and recognise the numerals used in a recipe, matching each number to the correct amount.
- Count spoonfuls, cups or portions as ingredients are added.
- Compare different loaves by size, length, weight and shape.
- Share bread into equal portions and introduce simple ideas about halves and quarters.
- Put the stages of bread-making into the correct order using first, next, then and finally.
- Create a simple class chart showing which breads children liked best, then compare the results.
Geography and culture
- Explore the breads shown at the end of the book and find out which countries or cultures they come from.
- Locate some of these places on a map or globe.
- Compare different breads by shape, size, texture and ingredients.
- Taste a small selection of breads from around the world and discuss similarities and differences.
- Talk about when and how different breads are eaten, such as with meals, at celebrations or as part of family traditions.
- Match pictures of breads to their country or region of origin.
- Discuss how climate, crops and local ingredients can affect the kinds of bread people make.
- Create a simple class display or map showing breads from different parts of the world.
Science ideas
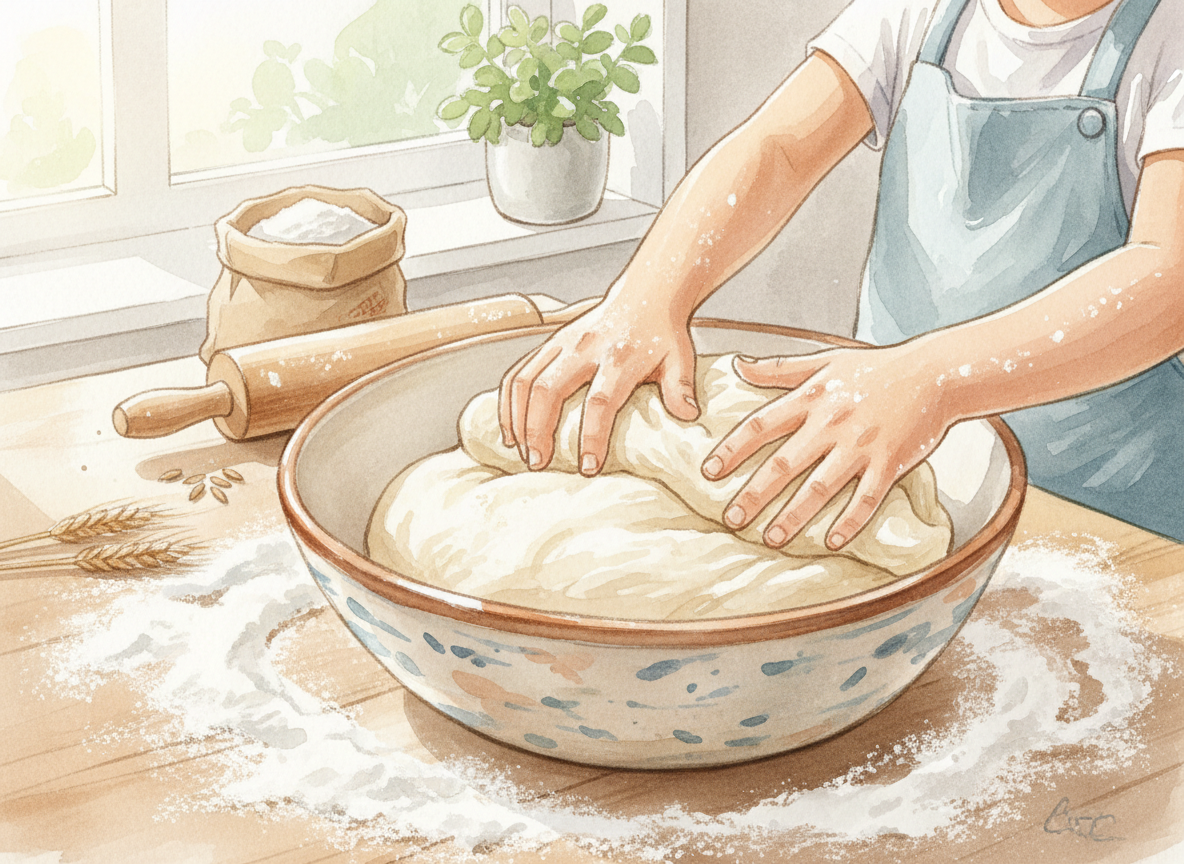
- Explore the ingredients used to make bread and discuss what happens when they are mixed together.
- Investigate the role of yeast by comparing dough made with yeast and dough made without it.
- Observe how dough changes over time as it rises. Encourage children to describe what they notice using words such as bigger, softer, stretchy and bubbly.
- Talk about changes that happen during cooking, including how the dough changes in colour, texture, smell and size.
- Sort the ingredients into different groups, such as dry and wet ingredients.
- Make simple predictions before each stage: What do you think will happen when we add water? What might happen when the dough is warmed?
- Compare the bread before and after baking and identify which changes can and cannot be reversed.
- Use the activity to introduce the idea that some changes happen because of mixing, heating or cooling.
History
- Explore how bread was made in the past and compare it with how bread is made today.
- Look at old and modern pictures of farms, mills and bakeries. What has changed, and what has stayed the same?
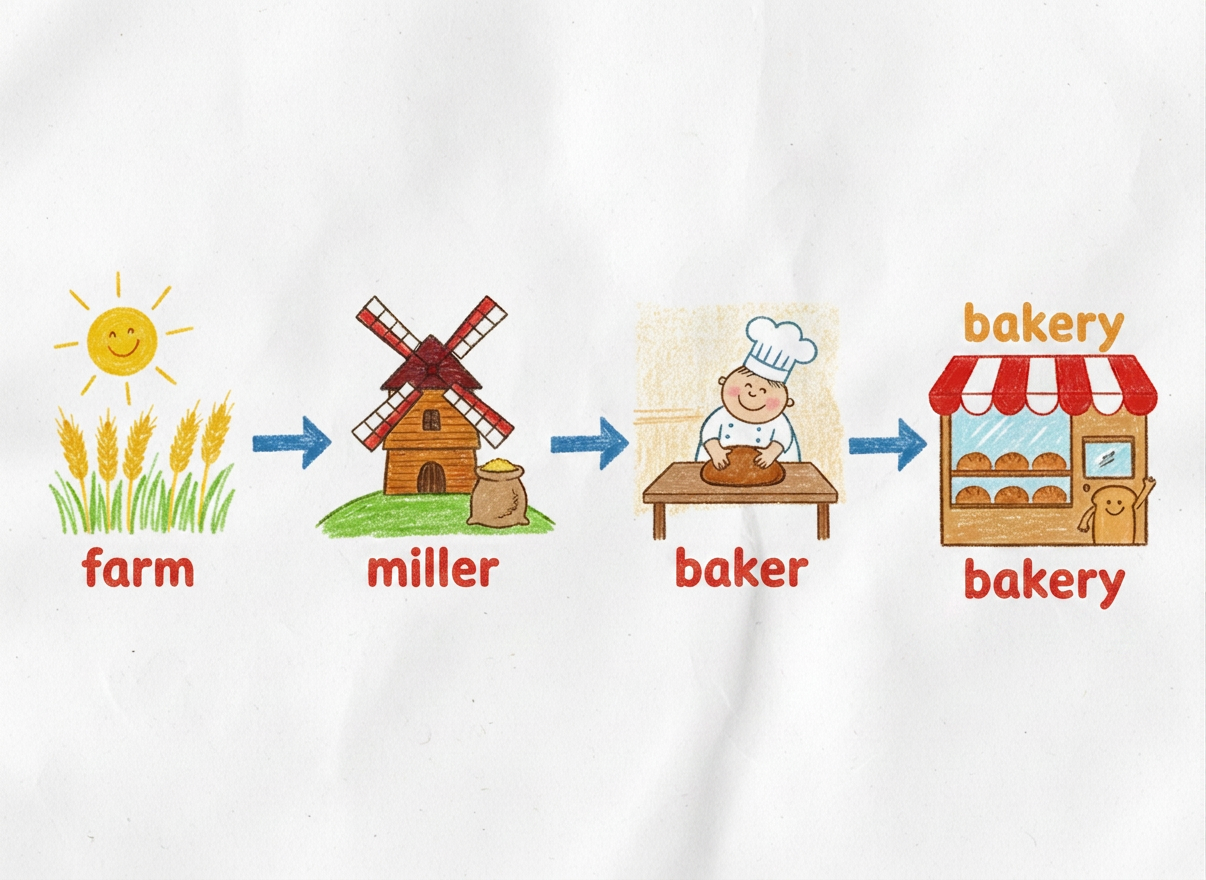
- Follow the journey from grain to loaf: farmer → miller → baker.
- Find out how grain was harvested and ground before modern machinery was available.
- Compare traditional tools, such as hand mills and wooden bread ovens, with the equipment used today.
- Talk about the different jobs involved in making bread and how these roles have changed over time.
- Create a simple timeline showing the stages from growing wheat to baking a loaf.
- Explore a local bakery, mill or farming tradition through photographs, stories or a visit.
Design and technology
- Design and technology ideas
- Design a new loaf or sandwich for a particular person or occasion.
- Decide what ingredients will be needed and explain why they have been chosen.
- Make a simple bread product by following a recipe safely and in the correct order.
- Practise skills such as measuring, mixing, kneading, shaping and spreading.
- Taste and evaluate the finished product using words such as soft, crusty, chewy, sweet and savoury.
- Compare different breads and decide which features make them suitable for particular uses.
- Design packaging for a loaf or sandwich, thinking about what information should be included.
- Improve the design after tasting or testing it, explaining what could be changed next time.
A quick supply-teacher lesson
Design a new bread for Zed’s bakery
Read Zed’s Bread together and briefly discuss the different breads shown in the story. Ask the children to imagine that Zed wants to add a brand-new bread to his bakery.
Children design their own loaf, roll or sandwich and draw it clearly. They can then label the ingredients and write a name for their creation.
Older or more confident children could also write:
- who the bread is for
- what it tastes like
- why people should buy it
- simple instructions for making it
Finish by inviting a few children to present their designs to the class.
Resources: the book, paper and pencils or colouring materials.
Suitable for: Reception to Year 2, with the writing adapted to the age and ability of the class.
Taking it further:
- Turn the ideas into a week- or fortnight-long topic, beginning with the story and ending with a class bakery or bread-tasting event.
- Invite a baker to visit, arrange a trip to a local bakery, or watch a video showing how bread is made on a larger scale.
- Create a class bread book containing recipes, photographs, children’s writing and evaluations.
- Set up a bakery role-play area with menus, price labels, order forms, money and packaging.
- Explore traditional bread stories, songs and rhymes, then compare them with Zed’s Bread.
- Ask families to share breads that are important in their culture or home life, along with photographs, recipes or memories.
- Grow wheat or another grain and observe how it changes over time.
- Compare homemade bread with shop-bought bread by looking at ingredients, packaging, cost and freshness.
- Finish the topic by designing, making and evaluating a class loaf or individual bread product.
Using Zed’s Bread in EYFS
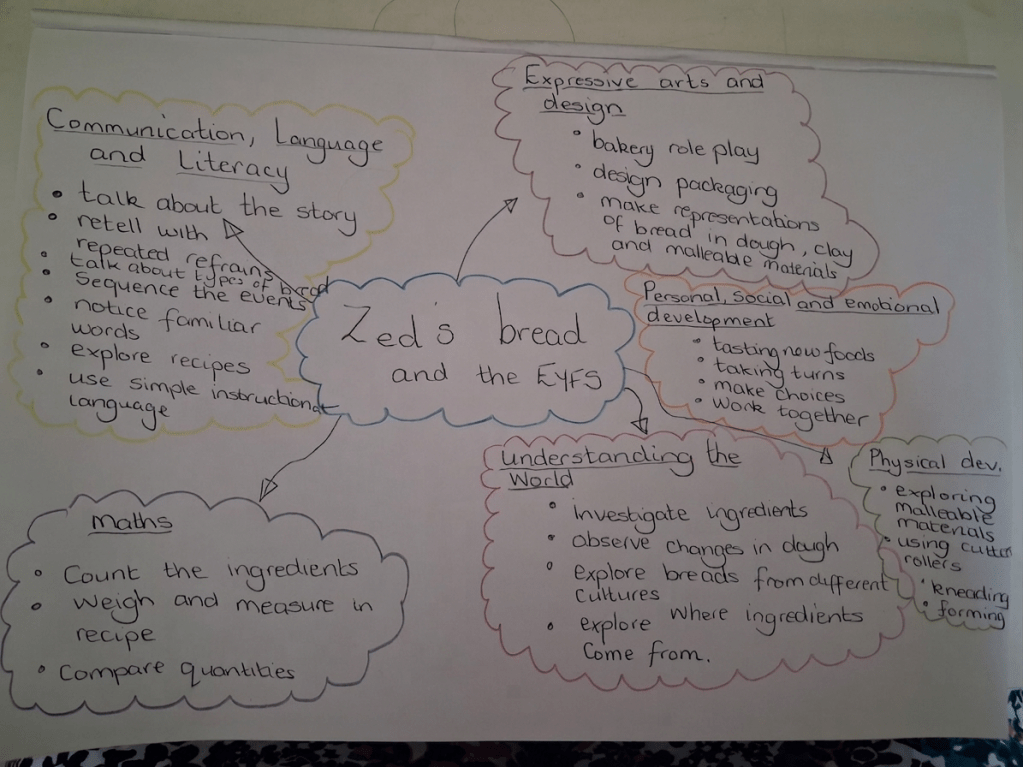
Zed’s Bread is equally valuable within the EYFS, offering a wide range of learning opportunities for both adult-led activities and more open-ended invitations within continuous provision.
The story can also provide a natural bridge into the much-loved traditional tale The Little Red Hen, opening up further opportunities to explore sequencing, repeated language, cooperation, fairness and the journey from grain to bread.
Claire’s Final Thoughts …
Zed’s Bread is a wonderful example of how one simple picture book can open the door to rich, connected learning. It can be enjoyed as a story, used for a quick standalone lesson, or developed into a week or fortnight of meaningful exploration across the curriculum.
The ideas here are intended as a starting point rather than a fixed plan. Choose the elements that suit your children, setting and available time, then follow the questions and interests that emerge.
Sometimes the most valuable learning begins when we look beyond the final page…
Zed’s Bread by Mick Manning and Brita Granström (published by Walker Books, ISBN 978-1-4063-3506-4) is available from Amazon and other booksellers.
You can also find us on Facebook — follow Beyond the Story Shelf for more ideas and inspiration.


Leave a comment